
Originally Posted On: https://www.ucanpack.com/blog/post/how-to-measure-your-product-and-pick-mailer-boxes-that-fit-in-4-steps
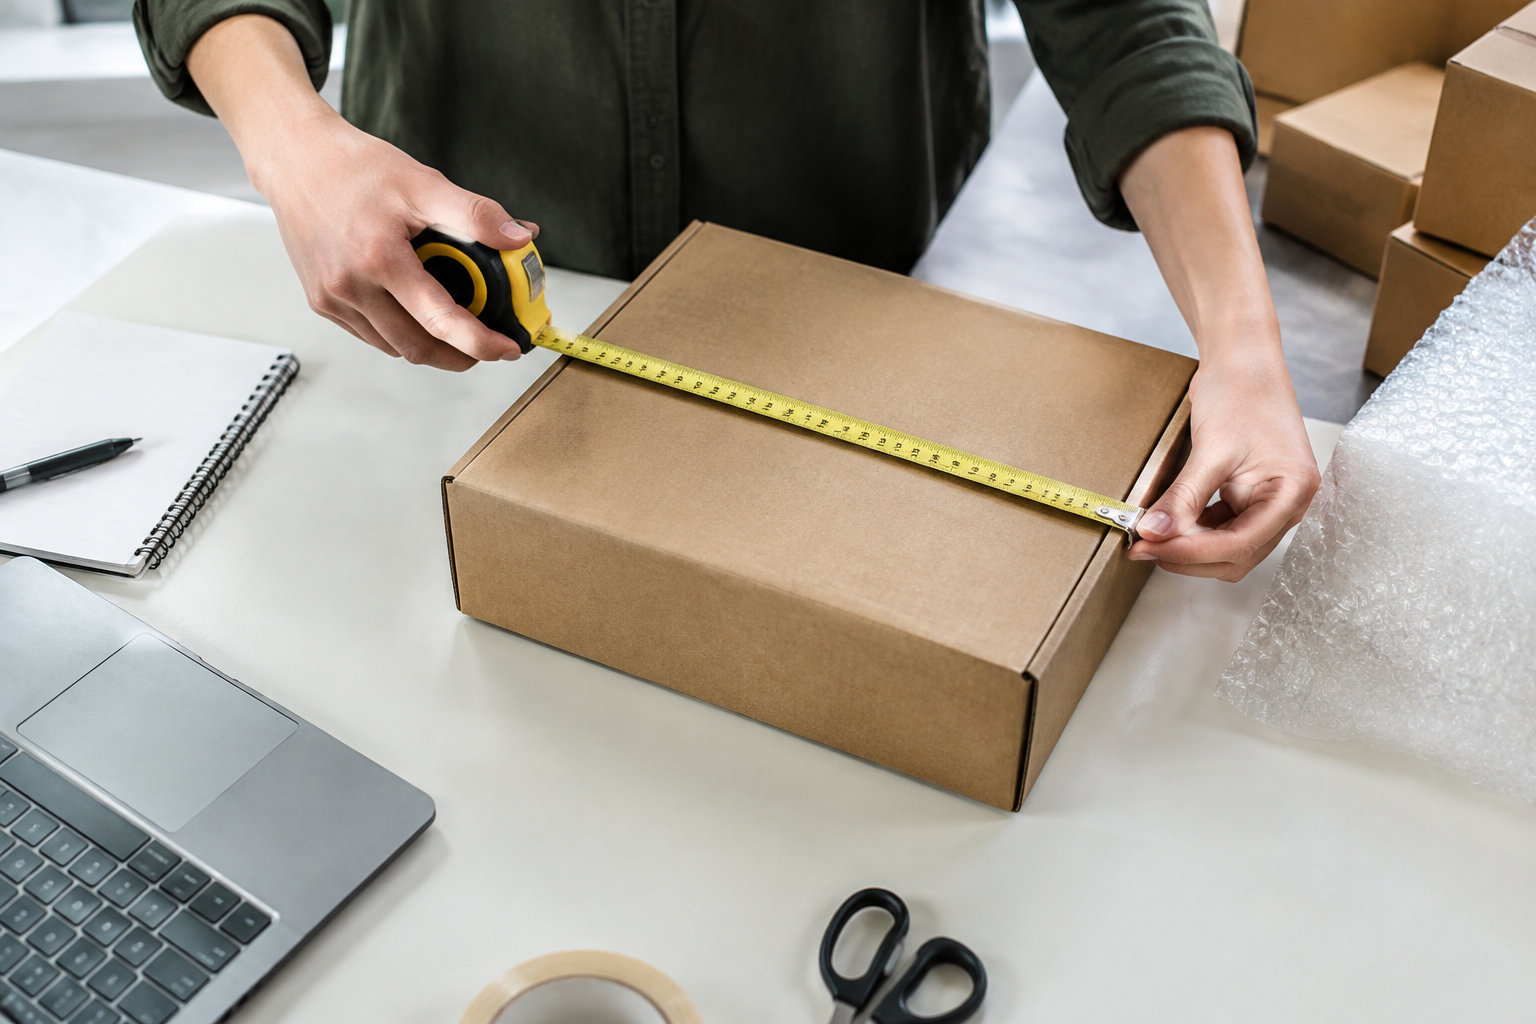
Before You Start
Skip the guesswork. This takes about 30 minutes, and you don't need any special skills. If you can read a tape measure, you're set.
-
Skill level: Beginner. No design or packaging background needed.
-
Time: Roughly 30 minutes for measuring and math. Add a few days if you order samples.
-
Tools: A tape measure or calipers, a kitchen scale, and a pen and paper or a phone notes app.
-
Materials: Your product fully packed as it ships (sleeve, insert, hang tag, wrap), plus a few sheets of bubble wrap or crinkle paper for the trial pack.
-
Know your numbers: Your usual order weight and how many orders you ship a month. That tells you whether 25-unit or 100-unit bundles make sense.
-
Carrier basics: Have your USPS or FedEx rate sheet handy, or know where to find it. Half an inch can push a box into a pricier bracket.
What you'll have at the end:
-
One exact inside dimension for your product, written as length x width x height.
-
A strength pick (E-flute or B-flute) that matches its weight and fragility.
-
A color and finish choice, plain or custom.
-
A trial order plan: 2-3 sizes, 25-100 units each, so you can test before you commit.
-
Half an inch. That's all it takes to turn a clean shipment into a crushed-corner complaint, or to push a parcel into a pricier postage bracket. Most sellers don't catch the problem until the returns start piling up.
Picking mailer boxes sounds easy. You eyeball the product, grab a size that looks close, and hope for the best. In practice, that guess is where the money leaks out: oversized boxes need extra filler, tight ones bulge at the lid, and both can cost you on USPS and FedEx rates.
Fulfillment floors don't guess. They measure the product as it actually ships, add a set amount of cushion, and test one box before buying a hundred. It takes maybe 20 minutes. And if you're pushing 50 to 1,000 orders a month, those 20 minutes will save you far more than they cost.
What You'll Learn, What You Need Before You Start, and Quick Setup
A seller ships 300 candle sets a month in a 12x9x4 box because that's what the first listing used. Half the boxes rattle. Two corners crush every week. Nobody checked the numbers.
This walkthrough fixes that. Pick mailer boxes by measuring, not guessing, and the rest gets easy. If branding matters later, custom printed mailer boxes come after you've nailed the size.
What you'll walk away with: one exact box size, a strength pick, and a trial order plan
Four steps. You'll finish with one exact size, a flute and strength choice, and a small test order (25-50 units) before you commit to bulk.
Tools to grab first: tape measure or calipers, kitchen scale, your packed product, a few sheets of bubble wrap or crinkle paper
-
Tape measure or calipers for length, width, and height
-
Kitchen scale for weight in ounces
-
Your product, fully packed in its retail box or pouch
-
Bubble wrap or crinkle paper to test cushioning room
Why guessing sizes costs you: oversized boxes, filler waste, crushed corners, and extra postage on USPS and FedEx rates
Here's what most people miss: carriers bill on dimensional weight. A box two inches too big can bump you into a higher rate tier on both USPS and FedEx. Add the extra fill you buy to stop the rattling, and the waste stacks up fast.
Too small? Corners crush, seams split, and you eat the replacement. Measure first.
Step 1: Measure Your Product the Way a Fulfillment Floor Does
Bad measurements cause most box mistakes. Not bad boxes. A ruler and two minutes will save you a pile of returns and a closet full of boxes that don't work.
Length, width, height: which side is which, and why mailer box dimensions are listed inside
Length is the longest side of the opening. Width is the shorter side of that opening. Height is the depth, measured from the opening down to the floor of the box. Mailer box sizes are listed as inside dimensions, so a 9x6x3 box holds a product up to 9x6x3 inches, with no allowance for the wall thickness. Match your product's numbers to those inside numbers, not to the outside of the box.
Buying in bulk? Many sellers ordering mailer boxes wholesale only find out about a sizing error after 500 units arrive. Order a sample first. It's free to check — it's a lot cheaper than being wrong.
Measure the product as it ships: with sleeves, inserts, hang tags, and wrap on
Measure it fully packed. Not bare. Put on the tissue, the polybag, the sleeve, the card insert, and the hang tag, then measure. A candle that's 3 inches bare can be 3.5 inches once it's wrapped, and that half inch decides whether the lid closes.
-
Add 1/4 to 1/2 inch per side for rigid goods.
-
Add up to 1 inch if you're using paper fill or an insert.
-
Round up to the next half inch, never down.
If this goes wrong: soft goods that compress, odd shapes, and products with sticking-out parts
Hoodies and tees squish. Measure them folded and pressed flat under your hand, the same way a packer does at speed. Odd shapes, like a bottle with a pump or a mug with a handle, get measured at their widest point, spouts included. If you're sizing for a premium look, black mailer boxes show every gap and bulge, so a snug fit matters even more.
Step 2: Add Cushion Room and Calculate Your Inside Box Dimensions
How much space should a product actually have inside its box?
Less than most sellers think. Too much room means shifting, filler waste, and a bigger carton than the carrier needs.
The 1-2 inch rule: adding room for padding to each dimension, with worked examples for apparel, candles, and a cosmetics set
Take the measurements from Step 1 and add 1-2 inches to length, width, and height. Soft goods get 1 inch. Anything breakable gets 2.
-
Folded apparel at 10x8x2": add 1 inch each way, so look for an inside size near 11x9x3".
-
Candle jar at 3.5×3.5×4": add 2 inches, giving 5.5×5.5×6" with paper fill around the glass.
-
Cosmetics set at 8x6x2": add 1.5 inches, landing on roughly 9.5×7.5×3.5".
Round up to the nearest stock size. Plenty of sellers find that kraft mailer boxes cover all three of these products in two sizes.
Flat items versus fragile items: how much extra fill you really need
Flat items like prints, cards, and tees need almost nothing. A single layer of tissue is enough. Fragile goods need cushioning on all six sides, so keep a full 2 inches of space and pack it tight with crinkle paper or bubble wrap. Loose fill is the usual culprit behind damage claims.
Check your result against postage tiers so you don't land in a higher rate bracket by half an inch
Before ordering, check the final dimensions and weight against your carrier's rate tiers. Half an inch can push a parcel into dimensional weight pricing, and the label rate jumps with it. If a size sits right on the edge, trim the padding or drop to the next smaller box. Once the number holds up, buying mailer boxes bulk locks in a size you won't have to second-guess.
Step 3: Match Your Size to a Mailer Box Style, Flute, and Color
Roughly one in three damage claims traces back to a box that's too big, not one that's too weak. Loose product slides, hits a wall, and cracks. So size comes first.
Standard sizes from 6x4x2 up to 18x12x6: finding the closest fit instead of forcing a custom order
Take your product's length, width, and height, then add 1-2 inches per side for padding. Now scan the stock list. With 20+ sizes in that range, most products land within half an inch of a standard box. Skip custom unless nothing fits.
E-flute versus B-flute: which one protects your product and which one looks cleaner
-
E-flute (1/16"): thin, smooth, prints sharp. Good for apparel, candles, and cosmetics.
-
B-flute (1/8"): thicker walls, better crush resistance. Pick it for glass, ceramics, or anything over 3 lbs.
Honestly, if the product can break, choose B. Looks matter less than a refund.
Kraft, white, black, or printed: picking a finish for plain mailer boxes or custom mailer boxes with a logo
Kraft reads eco and handmade. White looks clean and takes labels well. Black feels premium. Browse the color mailer boxes range if you want a finish without any print setup. Ready for your logo? Printed boxes start at low minimums with no die or plate fees.
Where to buy: online wholesale and bulk packs of 25-100 versus local stores and single boxes, with low-minimum options for 50-1,000 orders a month
Local stores sell single boxes, but you'll pay a lot more per box and the sizes are limited. At 50-1,000 orders a month, bulk packs of 25-100 online are the smarter route. UCANPACK offers free samples, so test the fit with your actual product before committing to a bigger order.
Step 4: Order Samples, Run a Pack-and-Drop Test, and Place Your First Order
Measuring on paper isn't enough, and anyone who tells you a spec sheet guarantees a fit is guessing. Real products have lumpy corners, tissue, and inserts that add up. Order samples first. Always.
Test one box with your real product: shake it, stack it, and drop it from waist height
Pack the sample exactly as a customer order would go out, with insert, wrap, and a printed slip. Then run three checks:
-
Shake it. Hold the box by the sides and shake hard for five seconds. Any thump means movement.
-
Stack it. Put 10 pounds on top for a few minutes. Lids shouldn't dent.
-
Drop it. Let it fall flat from waist height, then on a corner. Open it and inspect.
Spot the red flags: rattling, bulging lids, crushed corners, and a lid that won't stay shut
Rattling means the box is too big. A bulging lid means it's too small, or the product sits too high. Crushed corners point to a weak flute, so move up to a stronger board. And a lid that pops open? Check the tuck tabs and the fit, because a 1/4 inch of slack is often the culprit.
Place the order: start with 2-3 sizes, 25-100 units each, then reorder once the numbers hold up
Don't buy 1,000 of one size on day one.
Pick two or three sizes that cover your best sellers and order 25-100 of each. Seasonal gifting can use holiday mailer boxes, which skip custom print work entirely. Track damage claims and fill-material use for two weeks. If the numbers hold, reorder in bulk.
Recap of what you finished and next tutorials: adding a branded print, picking tape and labels, and building a returns kit
You've measured, chosen, tested, and ordered. That's the whole fit process. Next up: adding branded print, choosing tape and shipping labels, and building a simple returns kit.
Recap & Next Steps
You've got a box size now. Not a guess, a number. Here's what you finished:
-
Measured your product as it actually ships, with inserts, sleeves, and wrap on.
-
Added 1-2 inches to each side so your inside dimensions leave room for padding.
-
Matched that size to a standard mailer box, plus a flute and finish that fit your product.
-
Tested a sample with a shake, a stack, and a waist-high drop before buying in bulk.
Don't skip the last one.
A box that looks right on a screen can still fail on a conveyor belt.
Where to go from here
-
Add a branded print. Once your stock size holds up over a few hundred orders, move to custom mailer boxes with your logo. Your size is already proven, so you won't waste a print run.
-
Pick your tape and labels. Self-locking mailers need little tape, but a branded seal sticker and a clean shipping label placement make the package look finished.
-
Build a returns kit. Include a second, smaller box or a poly mailer with a prepaid label so exchanges come back in one piece.
-
Reorder on a schedule. Track how many boxes you use each month, then reorder when you hit roughly two weeks of stock. Running out mid-week is the fastest way to ship a bad package.
Start small, watch your damage rate for 30 days, and adjust.
That's how fulfillment floors fix problems.
A good fit comes down to a few habits. Measure the product the way it actually ships, with sleeves, inserts, and wrap included. Add one to two inches for cushion. Then match that number to the nearest stock size rather than forcing a custom job. Sellers who do this stop paying for air, filler, and crushed corners.
Strength — finish deserve the same care. E-flute gives a cleaner look for light goods, while B-flute holds up when a package gets tossed around a sorting hub. Kraft, white, black, or printed mailer boxes all work if the structure matches the product's weight and fragility.
Nobody gets the size right on paper alone.
A sample box, a real packed product, and one drop from waist height will show what a tape measure can't. Sellers who test first rarely place a second corrective order.
Your next move is simple. Pick your best-selling product today, run the four steps, and order free samples in two or three candidate sizes. Pack them, shake them, drop them, and then place a first order of 25 to 100 units in the one that survives.
UCANPACK
753A Tucker Rd
Winder, GA 30680
1 201-975-6272
https://ucanpack.com


